QuestionShapingBy The Hook Desk7 Sep 2026
How do I make an invisible decrease in amigurumi?
A standard sc2tog pulls two stitch tops together on the surface, which leaves a visible bump every time you close a round. The invisible version hides the join inside the piece — it costs one extra second per decrease and removes the most common giveaway that a toy is handmade.
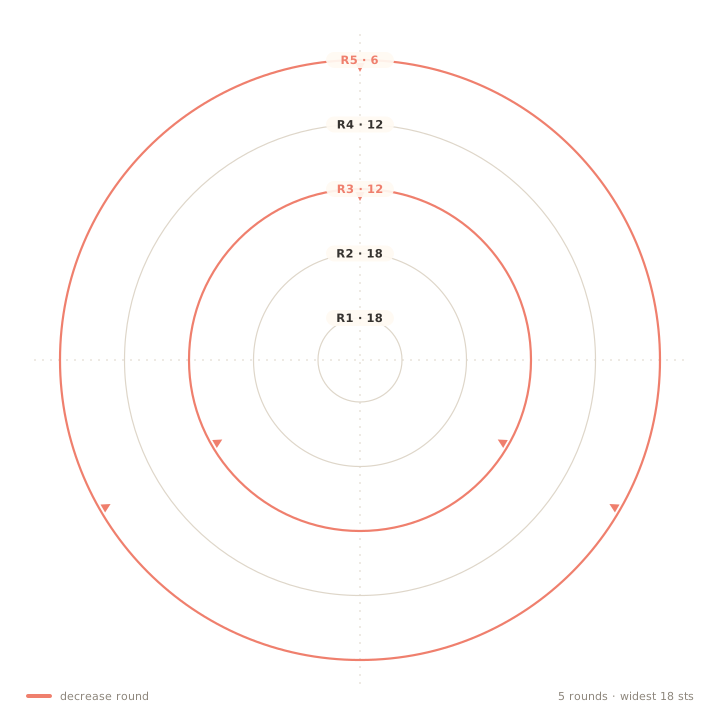
Step by step
R5 · 18 stsThe two-step insertion
Insert the hook under the front loop only of the next stitch. Do not go through both loops. Then insert it under the front loop only of the following stitch as well. You now have two front loops and two back loops on the hook — the back loops stay untouched behind the hook.
Yarn over and pull through both front loops (2 loops on hook), yarn over and pull through both (1 loop). The stitch is closed and it has moved one step forward in the fabric, which is why the count drops by one.
Note 2Why the loop you choose changes what you see
A stitch top has two loops, front and back. A normal sc2tog goes under all four of them, so the two stitch tops fold towards each other on the surface and the fabric puckers upward. That pucker is the bump.
Going under the front loops only makes the fold happen behind the surface. The back loops, which are still attached to the row below, pull the seam backwards into the piece and the front of the fabric reads as a continuous row of single crochets.
Note 3Where it changes the shape, not just the look
Invisible decreases pull in slightly less than standard ones, because the back loops stay put instead of being gathered. On a round going from 18 to 12 stitches, that is a difference of about 1 mm in diameter — invisible for a stuffed ball, but noticeable over six consecutive decrease rounds on a cone.
For that reason, work the decrease rounds of a cone or a snout counting the round as if it were one stitch wider, or add one extra plain round before the decreases start. The closing round at the very top of a sphere is the one place where the difference never matters.
Where it usually goes wrong
- Picking up front loops of two stitches that are not adjacent — it makes a hole beside the decrease.
- Yarning over an extra time out of habit and closing three loops at once, which turns the decrease into a taller stitch.
- Using a hook a full size smaller to compensate for looseness rather than just keeping the front loop path tight.